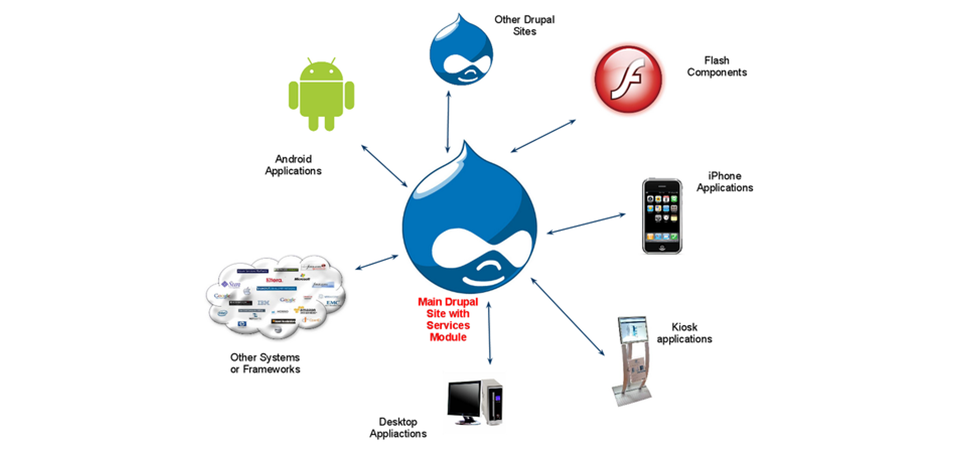
The Services module allows you to provide web services from your Drupal site.
Services is really popular and works with formats such as REST, XMLRPC, JSON and SOAP.
However, when asked about Services during a training class last week, I was realized that the students were asking me because there was little-to-no clear documentation available.
So, I sat down and decided to write a Beginners guide to the Services module.
Here's a 5-step guide to using Services creating a REST API for your Drupal site.
#1. Installation
Setting up the basic REST API requires these three modules:
If you want to also set up authentication for your API, you'll need to add a module such as OAuth.
It's worth noting that you may need to test different versions of these modules. The best documentation I could find on this on drupal.org recommended sometimes using older versions of these modules, in order to avoid bugs.
When you enable these modules, you'll be able to choose the types of server you want. In addition to REST and XMLRPC other modules are available on drupal.org, including SOAP.
#2. Server Set-up
- Go to Structure > Services
- Click Add
- Enter a "Machine-readable name"
- Choose your server
- Enter a "Path to endpoint". This will become part of the URL for your server.
- Click Save.
- Click Edit Resources
- You'll now be able to edit different settings for your server
#3. Server Settings
- The Server tab will allow you to choose the formats and parser types for the server:
The Authentication tab will allow you to control access to the server. Here's an example with OAuth:
- Install OAuth
- Go to Configuration > OAuth > Add Context
- Set up the details for your OAuth connection
- Go to Structure > Services > Edit Resources
- Check the OAuth authentication box:
- Click the Authentication tab
- Choose your OAuth context:
Finally, the Resources tab allows you to control what your server can do. In this example, we need to make sure we check the Views box:
#4. Creating the View
- Go to Structure > Views > Add New View
- Create a view, using only the block format:
- Click Continue and Edit
- Click Add at the top of the View, then click Services.
You'll see a message saying "Display "Services" uses a path but the path is undefined."
- Solve this by clicking the forward slash next to Path:
- Enter a Path such as "myrestapi":
- Look down at your preview and you'll see a preview of your your REST API.
- Save this view.
You can now customize this view, using all of the normal features of Views.
#5. View the server
The final step is to see your server output. There is no automatic link to the server, so you'll need to figure out the URL by using this pattern:
/path-to-endpoint/views/view-machine-name/
In my example, these were my settings:
- path-to-endpoint: I set the "Path to endpoint" in Part 2 as "myrestapi".
- view-machine-name: I set the name for view as "myrestapi". You can confirm this by editing your view and looking at the URL for the unique name of your view.
So, here is the URL to my server: /myrestapi/views/myrestapi/
And here is the output:
Find out more
The best documentation on Drupal.org is this article which goes into more detail than I did here. This is part of the general Services documentation.